
As more of you take what you know and turn it into online learning or virtual events a common question is… how do you set up a webinar? Where do you start and what are the steps?
Perhaps is seems complicated as there are a number of things that need to come together including participants (you don’t want a party without any guests), then there is the tech to worry about and how to coordinate any guest speakers or functions like the chat.
When it does all come together, webinars can be a great way for customers to get to you know and your business, learn new skills and gain insights, and for you to build a profile in specific areas of expertise. Plus it opens up a global marketing opportunity.

And because you asked the question, how do you set up a webinar, this blog outlines the steps to take for either a one off session or a series. Having run webinars and online programs since the early 2000’s, there are some fundamental things to make it a successful experience all round, even though some of the online platforms have changed.
Step 1
Brainstorming – What can you teach, turn into valuable online content, run online instead of face to face, and validate that there is an audience for, right here, right now?
Step 2
Validation – What evidence or information are you using that your topic or online thing is of interest to your current, future or past customers and followers? Can you use social media to test out interest, email a couple of people for feedback and/or pick up the phone and ask for advice? Maybe there is more formal information like reports and research that points to interest in your specific topics or when you meet with clients perhaps you pick up on gaps or areas that people need help with. Tip – in the current context, what is it that your customers really need and will make a priority?
Step 3
Collaboration – Is this something you are going to run by yourself or with others? Are there speakers, thought leaders or experts who it makes sense to invite to work with you? This could help with your marketing as your partners will presumably share the invitation to their databases and on socials. By way of example with timing, if you are running a 1 hour webinar then around 3 speakers with a Q and A part seems to be the maximum to manage in the session. Tip – people who make their living as a speaker, with a national or international profile, seem much more open to collaborating, way more than ever before so who might be on your wish list to invite?
Step 4
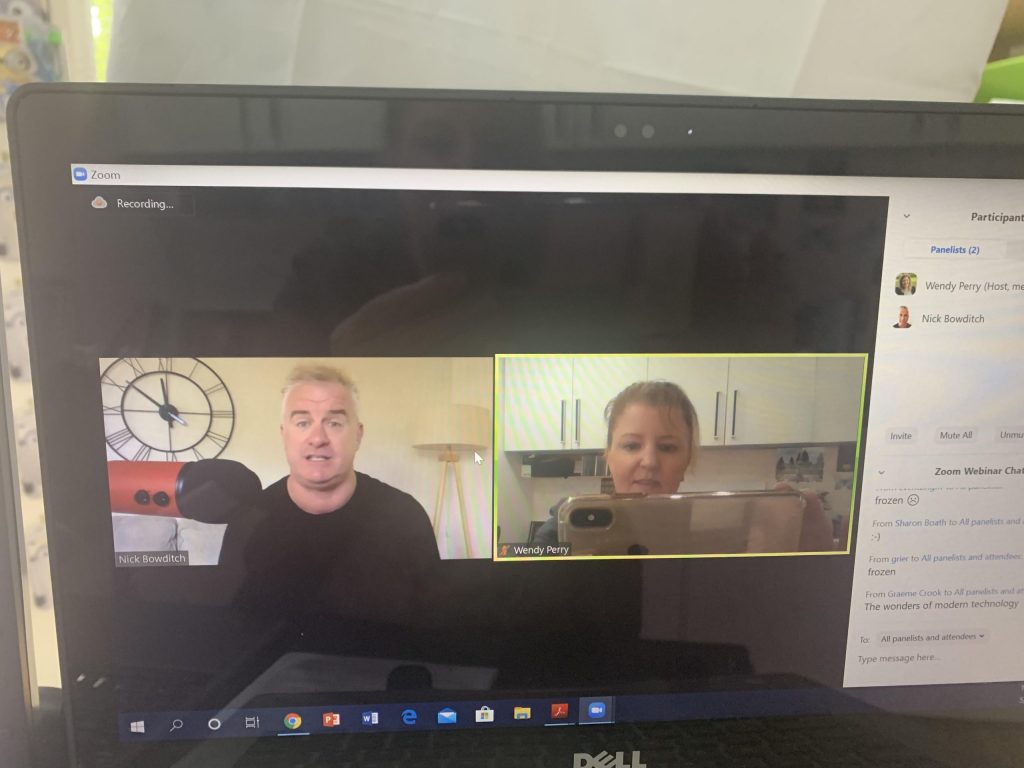
Format – What format is going to work best? Most people are using Zoom so do you want it to be a meeting or webinar format? Meeting works well with smaller numbers of people where the format is more open and conversational; webinar works best if you have a large number of people online and the session is more content rich. Is it one or more speaker or panel members, will there be presentations with slides (so you’ll need to share the screen), or an open conversation with questions from the audience? Who will manage the chat box?
Step 5
Outline – Draft an outline of your online session. Something like Google docs works well if you need to share it with partners. Start with a title, date, time and write a description that can be used for the event. Insert a table that follows the schedule and is timed – usually this starts with a welcome, intro, online etiquette, and why this webinar. Then move into sections – a good idea is to chop it up into 10 minute blocks with a theme, some content and any relevant questions to be answered. Allow around 5 minutes at the end to wrap up the session and decide if you’ll take questions throughout the session or only at the end. Check your outline with anyone involved in the session to make sure they are happy with it too.
Step 6
Tech bit – Now you are ready to set up the online link in Zoom or similar so ‘Schedule a New Meeting or New Webinar’ (remember I use Zoom), add the title, description, select the date and time. Check on/off functions as you need it and I don’t usually check password on or Q and A as I prefer to use the chat box. Then save it and your online link will appear which you can copy for Eventbrite etc. Add it into your calendar and invite any guests so it is locked into theirs too.
Step 7
Promotion – You have a few options here such as only sending the Zoom link, setting up a customised registration page that is from Zoom or using another platform like Eventbrite, Humanitix, landing pageetc. Because my clients are used to registering for events via Eventbrite, and this platform also means other people who search it based upon category and tags can come across the event, then this is my first go to.
With Eventbrite and Facebook linked, once the event is published (always preview it first) you can then go to your Facebook Business Page and import the event (there is an Eventbrite button when you click on your events tab).
Now sometimes Facebook doesn’t copy across all the info or the formatting looks weird so make sure you check and edit the event, you might need to add the category and also ensure the Eventbrite link is switched on for tickets. If other people are working with you on the session, you can add them as cohosts. Invite your friends to the event via Facebook and of course post on all other socials (especially LinkedIn) the direct link to get tickets via Eventbrite.
Email marketing is also important for you to invite your clients and networks to register and overall you should do at least three marketing pulses via email and socials. That is, 1. introducing the webinar with the date, time, link and any speakers, 2. Asking have you registered yet and pulling out a key point on the content, 3. Last chance to register. You might also want to consider recording a video and/or going Live to promote and pick out a particular part of the session.
Consideration: how long out should you be promoting your online event or webinar? At this time, I’d suggest as least 10-14 days and as things start to open up from shutdowns you will probably need more notice like 2-3 weeks+.
Step 8
Practice – Get someone to practice the session with you, whether that is a colleague, the speakers, a friend or family member. Make sure you are familiar with how all the functions work, mute/umute, allow to talk, upgrade to be a panelist, sharing screens, record (which you can either set at auto or you need to remember to hit – it can go to your computer or the cloud). When you record to the cloud, at the end of the session the online platform will take a few minutes to process and then under ‘Recordings’ in your account you should be able to share links to the recording and/or download the files.
Step 9
Things that might trip you up – Whilst there are things that happen on the fly and that are out of your control, there are a couple of things to check. If you are using Eventbrite for registration be aware that the system sends out a reminder 2 hours before and 2 minutes before your session automatically. We set up an email to go about 45-60 minutes prior that includes the direct Zoom link so people don’t need to worry about finding it. If it is a free session, also post the Zoom link in the Facebook event.
Background and lighting are important so preferably in an office like setting (not bedroom etc), with lights on and you might even need an extra light on your face. If you have a number of people working at home with you, and they are online at the same time as your session, let them know and nicely ask that they not stream content that could have an impact on your internet service. The occasional warble might be okay but not too often.
Well this has turned out to be a longer blog than expected, prompted by a client called Trish J, so hope this helps and perhaps another blog, maybe videos or a webinar on how to actually run something that is highly engaging could be where we go to next?
Please post any comments, shortcuts or hacks that you have found, and/or questions, thanks!